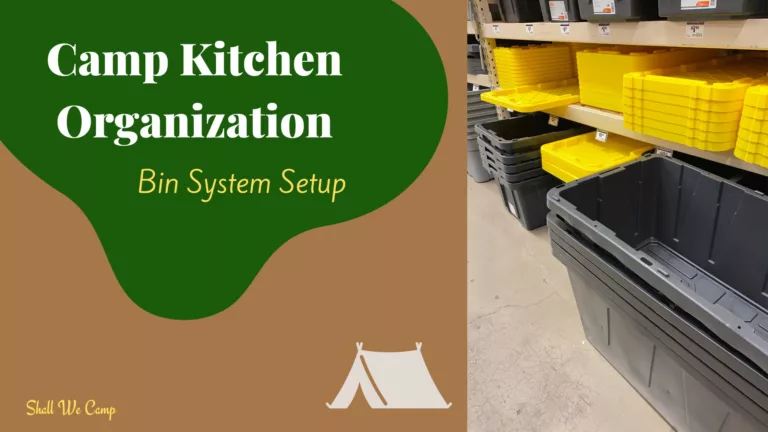
If you’ve ever pulled into camp hungry, only to spend 20 minutes digging for a spatula, this post is for you. A simple, labeled bin system turns your camp kitchen into grab-and-go modules you can pack in minutes, set up fast, and reset just as quickly.
Below is a complete, easy to follow setup with checklists, labels, and a five-minute flow that works for solo trips, couples, and family weekends.
Stop rummaging and Start relaxing!
Why a Bin System Works
Faster packing: Bins live ready and waiting on a shelf. You toss in perishables and you’re out the door.
Cleaner workflow: Prep, cook, and clean zones stay separate, which helps avoid cross-contamination.
Critter/weather protection: Latching lids keep out dust, drizzle, and curious camp neighbors.
Budget-friendly: No more “I thought we had foil” store runs. You’ll replace consumables before you forget.
Affiliate Disclaimer: This site contains affiliate links, which means I may earn a commission on purchases made through these links at no extra cost to you.
Table of Contents
What You’ll Need (The Basic Kit)
- Bins (2–4): Stackable, latching-lid totes (12–27 gal). Clear works great for quick visual checks.
Sub-organizers: Pencil boxes, zip pouches, utensil roll, spice kit, small caddy.
Labels: Waterproof tape or printable labels; add icons for a quick glance.
Extras that save time: Collapsible dishpans, water cube with spigot, microfiber towels, trash/compost bags, nitrile gloves.
Tip: Keep a fine-tip paint marker in every bin. When you add or remove something, update the label card on the spot.
The 3–4 Bin Camp Kitchen System
Bin 1: Cooking & Heat
What it handles: heat, pots/pans, fire-adjacent tools
2-burner stove (or single backpacking stove as backup)
Fuel canisters + wrench/adapter
Lighter + stormproof matches + fire starters
Windscreen, pot gripper, heat-proof gloves
Pots (2), skillet, lid lifter, small trivet
Small fire tools: tongs/poker, ash scoop
Label (outside): “COOK / HEAT”
Sub-boxes inside: “Stove + Fuel” • “Fire Start” • “Pots/Pans”

Bin 2: Prep & Utensils
What it handles: knives, boards, small tools, food-safe supplies
Chef knife w/ guard, paring knife, shears
Cutting boards (color-code: RED = raw proteins, BLUE = everything else)
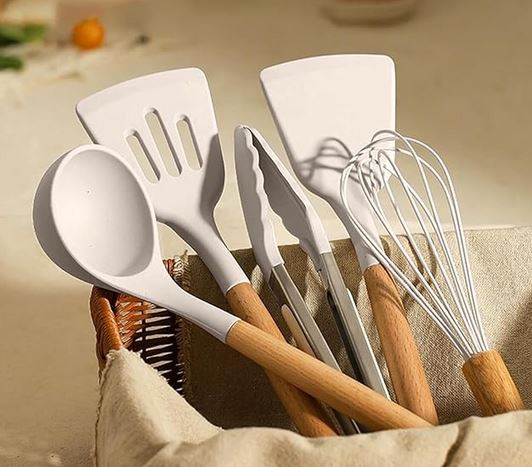
Tongs, spatula, ladle, slotted spoon, whisk
Can/bottle opener, peeler, grater, kitchen thermometer
Measuring cups/spoons, mixing bowl, colander
Foil, parchment, zip bags, silicone food bags, clips
Silicone mat (counter cover) + microfiber towel
Reusable squeeze bottles (oil, soap)
Label (outside): “PREP / UTENSILS”
Sub-boxes inside: “Knife + Boards” • “Tools” • “Prep Consumables”
Bin 3: Clean & Sanitize
What it handles: wash station, waste, hygiene
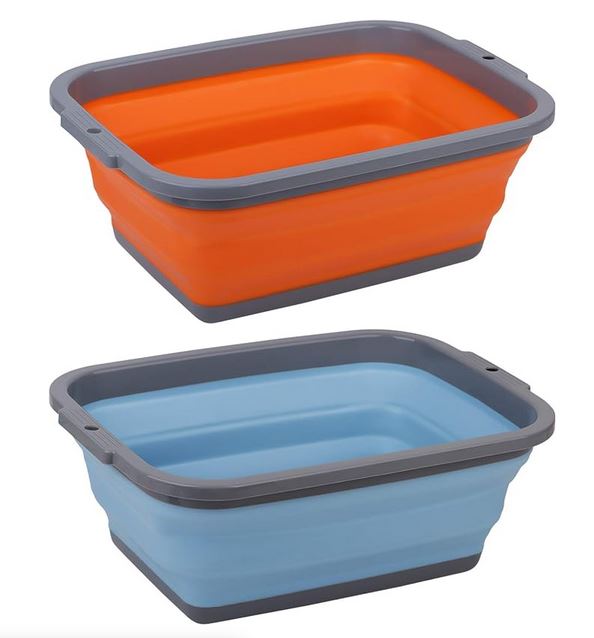
Two collapsible dishpans (wash + rinse)
Biodegradable dish soap, scrubber, scraper, sponge
Sanitizer (bleach tabs or spray)
Drying rack or line + clips
Microfiber towels (2–3) + nitrile gloves
Trash bags + compost bags, paper towels
Label (outside): “CLEAN / SANITIZE”
Sub-boxes inside: “Wash Kit” • “Sanitize” • “Waste”
(Optional) Bin 4: Pantry / Dry Food
What it handles: shelf-stable food + beverage kit
Oils, salt, pepper, spice kit, sugar/honey
Rice/pasta/tortillas, oatmeal, snacks, nuts
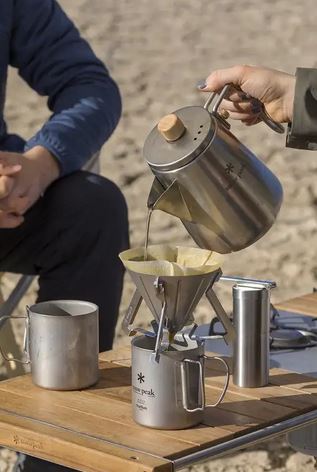
Coffee/tea kit: kettle, press or pour-over, filters, mugs
Shelf-stable milk/creamers, cocoa packets
Bear-resistant canister where required
Label (outside): “PANTRY / COFFEE”
Sub-boxes inside: “Breakfast” • “Dinner Staples” • “Snacks” • “Coffee/Tea”
Packing - Unloading - Setup
Packing Method & Load-Out Map (For Your Vehicle)
Weight & order: Heaviest bins lowest and closest to the tailgate. Pantry and Clean bins at the door for quick lunch stops.
Cooler placement: In the shade side of the cargo area. Add a small boot tray under it to catch meltwater.
Grab-bag: A soft tote at the door with day-use items: paper towels, wipes, snack box, coffee kit if you’re making roadside brews.
Tie-downs: Ratchet straps or cargo net over the stack for washboard roads.
5-Minute Camp Setup (Left-to-Right Line)
Place the table and define a simple line: Prep → Cook → Clean (left to right).
Stage water (cube with spigot) at the far right near Clean. Hang a towel line.
Set the stove with a windscreen and heat-safe zone behind it.
Cooler discipline: Raw proteins live in a marked corner or bag; ready-to-eat items on top.
Lighting: Clip a headlamp to the canopy pole or use a small lantern above the prep board for after-dark dinners.
Reset Rituals (So You Stay Organized All Weekend)
- After each meal (3 minutes):
Scrape pans, fill wash/rinse bins, wash, sanitize, and air-dry.
Wipe the stove and pack tools back into their sub-box.
Empty trash/compost into a single sealed bag.
- End of day:
Consolidate trash into the vehicle or bear-safe container.
Refresh paper towels and soap if low.
Put the coffee kit on top of Pantry for an easy morning.
- End of trip (10-15 minutes at home):
Open bins to dry completely, wash towels, refill consumables.
Check cooking fuel levels and toss a new spare into Cook/Heat.
Update each bin’s contents card before it goes back on the shelf.
Check out my article on the 10 Must-Have Camping Cookware for Outdoor Cooking. It's packed with essential gear recommendations to make your camping meals even more delicious and hassle-free!
Sample Inventory Checklists
Bin 1 — Cook/Heat
Stove • Fuel + wrench • Lighter + matches • Windscreen • Heat gloves • 2 pots + skillet + lids • Trivet • Pot gripper • Fire starters
Bin 2 — Prep/Utensils
Chef + paring knife (with guards) • 2 boards (raw/ready color-coded) • Tongs • Spatula • Ladle • Spoon • Whisk • Opener • Shears • Thermometer • Meas. cups/spoons • Mixing bowl • Colander • Foil • Parchment • Zip bags • Silicone bags • Clips • Silicone mat • Microfiber towel
Bin 3 — Clean/Sanitize
2 dishpans • Biodegradable soap • Scrubber/sponge/scraper • Sanitizer (tabs or spray) • Drying rack/line + clips • 2–3 towels • Nitrile gloves • Trash + compost bags • Paper towels • Grey-water strainer • Trowel
Bin 4 — Pantry/Coffee (optional… but 100% necessary in our camp)
Oil • Salt/pepper • Spice kit • Sweetener • Rice/pasta/tortillas • Oatmeal • Snacks • Nuts • Coffee/tea kit (kettle, press, filters, mugs) • Coffee (whole bean or ground) • Creamers • Cocoa
Consumables Restock List
Fuel • Foil • Parchment • Zip bags • Soap • Paper towels • Sanitizer tabs/spray • Coffee/filters • Spices
At-Home Storage Between Trips
The best advice I can give is to make sure you don't just unload your camping bins and equipment and then leave them sitting until your next trip. You want to be sure that you are taking steps to air out and restock your stuff.
As soon as you get home, unload your gear and take a few minutes to set yourself up for the next adventure. Here's a brief list to get you started:
Shelf parking: Keep bins on a single garage shelf so you can lift straight into the vehicle.
Dry & dust-proof: Crack lids during the week to air out; drop in a silica gel pack.
Fuel: Store propane/isobutane upright in a cool, ventilated area away from heat sources.
Quarterly reset: Quick inventory day—wash boards, sharpen knives, deep-clean dishpans, refresh spices.