Keeping your RV tires at the right pressure can mean the difference between a safe, smooth trip and a white-knuckle ride with preventable blowout risk.
In this guide, I’ll break down weight labels in plain English, show you exactly how to find your correct PSI (with or without a scale), give you a simple starter chart, and share the TPMS settings I use so your tires can “tell” you what’s happening in real time.
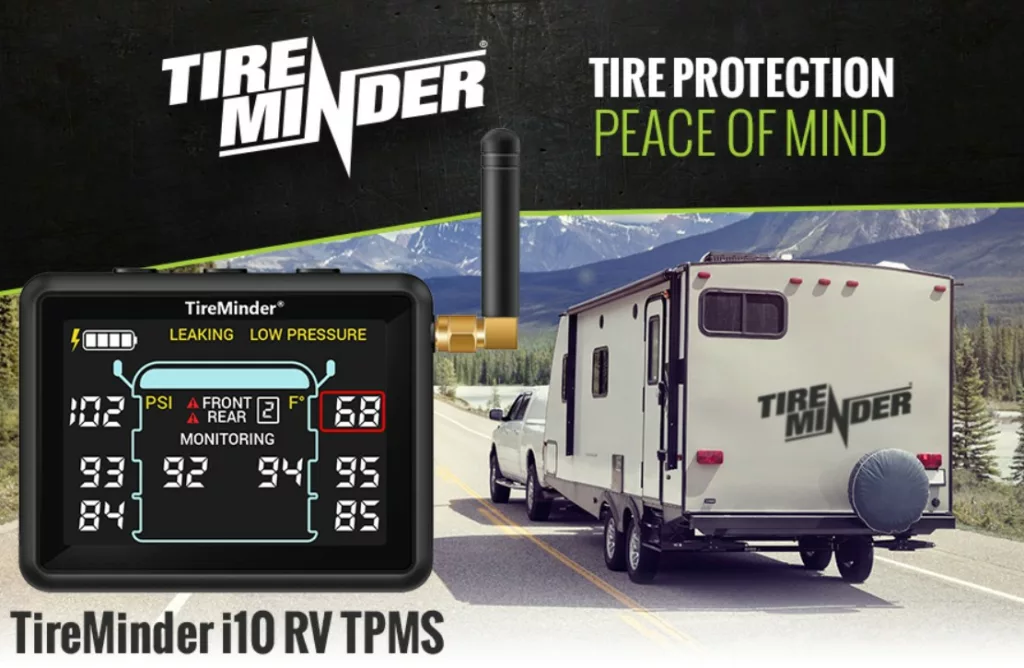
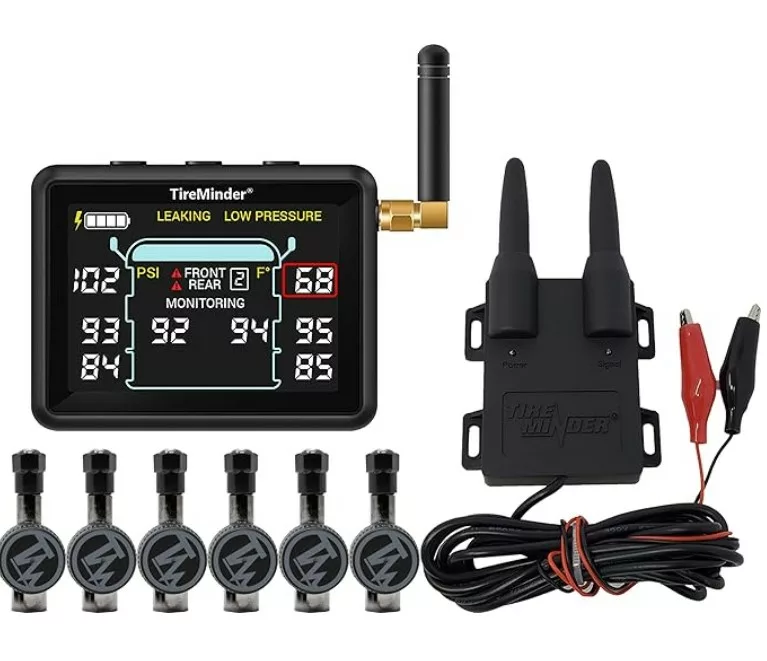
Weigh once, set PSI right, and let your TPMS watch your back.
Affiliate Disclaimer: This site contains affiliate links, which means I may earn a commission on purchases made through these links at no extra cost to you.
Table of Contents
Key Terms in Plain English
GVWR (Gross Vehicle Weight Rating): Max your RV can weigh fully loaded.
GAWR (Gross Axle Weight Rating): Max weight allowed on each axle.
GCWR (Gross Combined Weight Rating): Max for tow vehicle + trailer combined.
Cold PSI: Tire pressure set/checked when tires are cool (parked, shade, 3–4+ hours since driving).
Load Range (C, D, E, F, G, H): Tire strength rating tied to a max PSI at a max load.
Placard vs. Sidewall: The RV’s door/coach placard gives recommended cold PSI for that rig. The tire sidewall lists max load at max PSI- this is not your everyday number unless you’re actually at max load.
How to Find Your Correct PSI
Start with the RV’s door/coach placard as that’s your manufacturer’s baseline for cold PSI based on the original tire size and axle limits. Next, confirm what’s actually on your rig (tire size and load range can change after replacements), then check the tire maker’s official load–inflation table for that exact model. Use your actual weight (ideally from a recent scale ticket) to find the PSI that properly supports the heaviest side of each axle.
Remember: the sidewall number is the maximum PSI at maximum load, not your everyday target unless you’re running at max capacity.
Set this number as your cold PSI (tires parked, in the shade, and cooled for 3–4 hours or more), and re-check after big packing changes. Don’t bleed air from hot tires, because heat naturally raises pressure during travel.
If you can’t get four-corner weights, use axle weights with a conservative left/right split and build in a small safety margin, then monitor with TPMS to validate your settings.
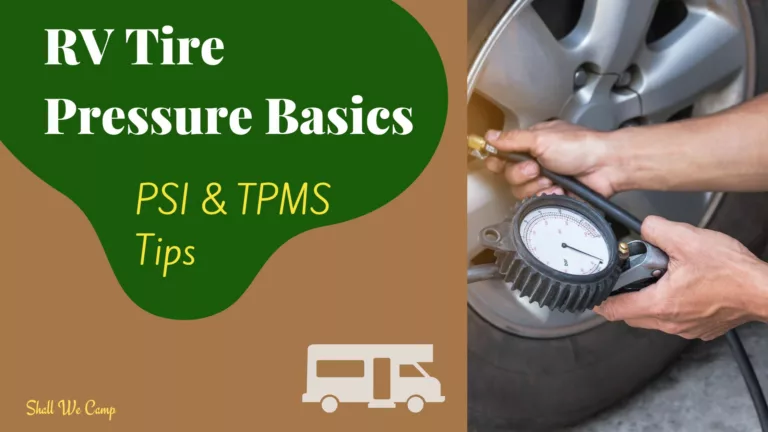
Weighing Your RV (Fast & Simple)
Good Option: CAT Scale (Truck Stops)
Bring the RV exactly as you travel (people, pets, fuel, water, food, gear).
Pass 1: Steer axle on front pad, drive axle on middle, trailer axles on rear pad (if towing).
Pass 2/3 (if needed): Weigh truck alone; then trailer alone to verify tongue/pin weight.
Compare: Axle weights vs. GAWR on your placard.
Set PSI: Use load–inflation tables to find the PSI that supports each axle’s load (add a safety margin if you can’t get corner weights).
Best Option: Four-Corner Weights
Found at rallies or tire/safety clinics. Each wheel position is weighed to spot left–right imbalances. Set PSI to support the heaviest wheel on each axle.
Simple RV PSI Cheat Chart
Use this only as a temporary guide until you can verify with actual weights and the tire manufacturer’s load table for your exact tire size and load range.
Rig Type / Typical Setup
Common Tire Type
Starter Cold PSI*
Small trailers / light Class C
ST/Light Truck
50–60 PSI
Mid-size travel trailers / light 5th wheels
ST/Load Range D–E
60–70 PSI
Heavier 5th wheels / Class A gas
Load Range E–G
80–90 PSI
Diesel pushers / heavy coaches
Load Range G–H
95–110 PSI
*Always confirm against your placard, GAWR, actual scale weights, and tire maker load–inflation tables. Many ST trailer tires specify higher pressures (often 65–80 PSI or more) and should be run at the max cold PSI listed on the sidewall unless the tire maker’s table indicates otherwise for your load.
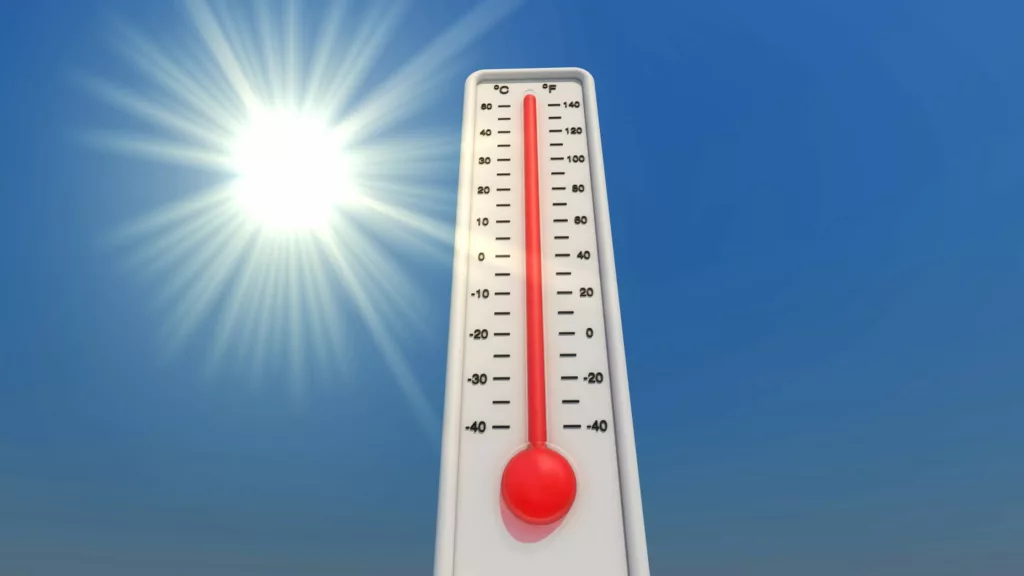
Temperature, Altitude & Daily Swings
Expect roughly ±1 PSI per 10°F temperature change (rule of thumb).
Set cold PSI at that day’s morning temperature; don’t chase hot readings later.
Altitude: Set cold PSI wherever you wake up; no special bleed needed just for elevation changes.
Sun vs. shade: Sunny-side tires will read hotter/higher in the afternoon.