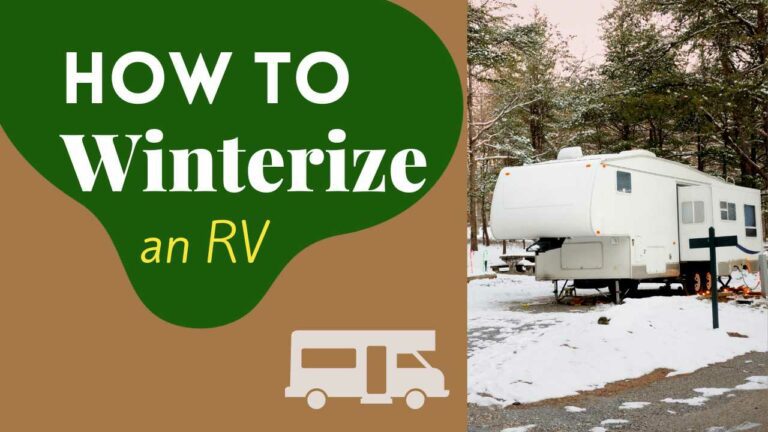
To make the most of your camping adventures as winter approaches, you need to know how to winterize your RV.
In this comprehensive guide, we will take you through the essential steps to ensure your RV is well-prepared to withstand the rigors of winter.
Understanding how to winterize your RV is a vital skill, because it not only protects your investment but also guarantees comfort and safety on your chilly camping adventures.
From safeguarding your plumbing system to insulating your home on wheels, we'll cover exaclty what it takes to make your winter RV trips a cozy and memorable.
Let's get started!
Step 1: Gather Your Winterizing Supplies
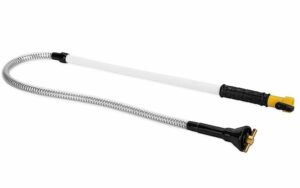
Before you begin, make sure you have all the necessary supplies on hand. There is nothing worse than getting halfway through a project only to find out you are missing a key tool.
I've linked to the products that I recommend above for your convenience. However most RV stores have these items on hand as well.
Step 2: Empty and Clean the Holding Tanks
First things first, you need to start by emptying your black and gray water tanks. Thoroughly flush and clean them to prevent any odors or residue from lingering during the winter.
You will want to clean your tanks as well. Use a cleaning wand for this task.
At this point, you need to also drain the fresh water holding tank. This is easy to do as it does not require additional cleaning.
Although it may seem daunting, with the proper tools, emptying and cleaning the tanks does not take long and can be done quite easily. Let the tools do the work for you.
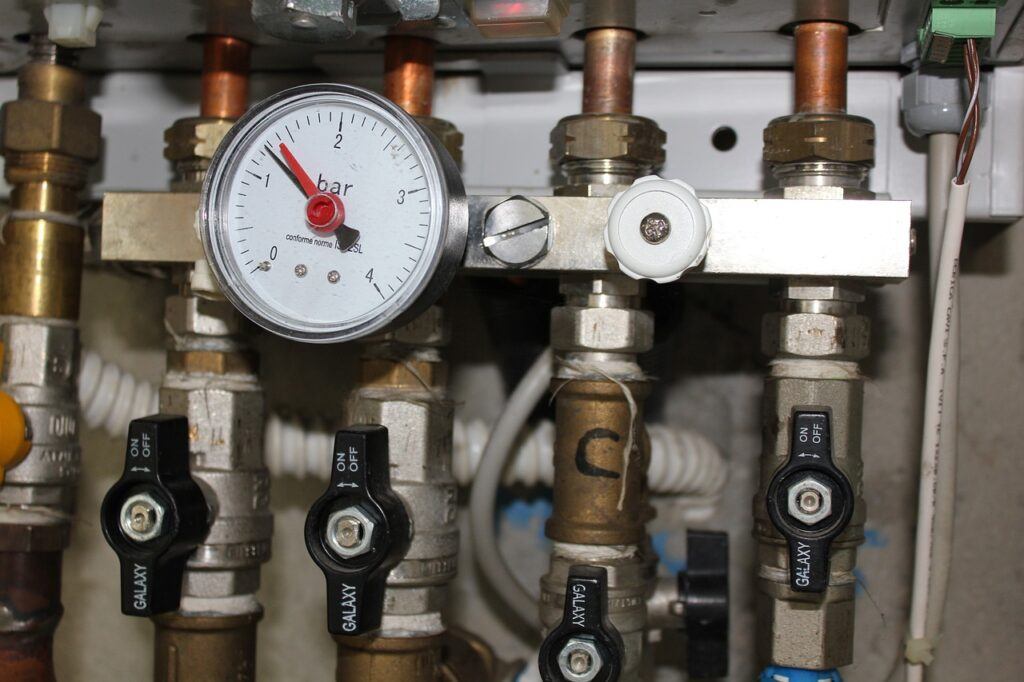
Step 3: Bypass the Water Heater
Bypassing the water heater is an important step in the RV winterization process. It prevents the water heater from filling with antifreeze, which would be both wasteful and unnecessary.
Turn off the water heater
Let the water cool down completely
Locate the heater bypass valves – set of 3 valves
Close the cold and hot water valves
Open the bypass valve
Test the bypass valve – try running hot water from faucet to test.
Once everything is bypassed, you can continue with the process
If your RV does not come pre-equipped with a bypass system, you will need to purchase a water heater bypass kit and install it.
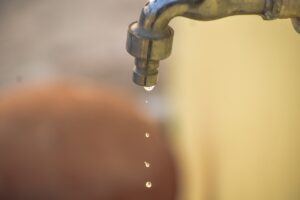
Step 4: Drain the Water Lines
Open all faucets, including hot and cold water taps, and let them run until they are empty. Don't forget any outside shower lines and any other water lines in your RV.
Also make sure you have drained your low point lines. These are usually located underneath your RV near the tank.
Run your water pump briefly in order to help push out remaining water. Be sure not to run it too long without any water as that can damage the pump itself.
Step 5: Add RV Antifreeze
Once you have completed the previous steps and no more water remains in your unit, pour RV antifreeze into the fresh water tank. Use the water pump to push it through the water lines. Make sure every faucet, toilet, and showerhead dispenses the pink antifreeze. This will safeguard your plumbing from cold-related damage.
Turn on your faucets one at a time and make sure every faucet, toilet, and showerhead dispenses the pink antifreeze. This will safeguard your plumbing from any freezing or cold-related damage.
Now you will want to add a cup or 2 of the antifreeze to your sink drains, shower drain, and toilet bowl.
If you have an outdoor shower, remember to winterize it as well. Same goes for any accessories you have like washing machines and ice makers. You can check your owners manuals for information on how to properly winterize them.
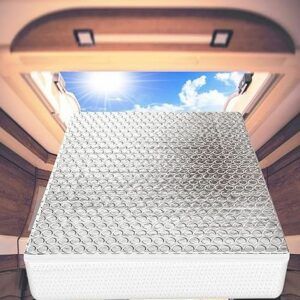
Step 6: Insulate Where Necessary
Inspect your RV for drafts and vulnerable areas. Seal any gaps and insulate any exposed pipes. Pay special attention to windows, doors, and compartments to keep the cold air out and the warmth in.
Check the seals around your windows and doors. Replace any worn or damaged weather stripping to prevent drafts.
Consider using thermal or blackout curtains to further insulate windows. These curtains can help retain heat and block cold air.
Adding an area rug or carpet inside your RV can provide additional insulation for the floor, making it feel warmer.
Install vent covers over roof vents and skylights to help prevent heat from escaping and cold air from entering. These covers also allow for ventilation while keeping the cold out.
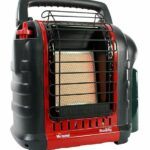
Step 7: Keep Provisions for Emergencies
Always have emergency supplies on hand, such as extra blankets, non-perishable food, and a source of backup heat like a portable electric heater or a portable propane heater.
Being prepared for emergencies is vital to ensure your well-being. Here are some provisions to have on hand:
Being prepared with these provisions ensures that you can respond effectively to unexpected situations and stay safe and comfortable during your winter camping adventures.
To be honest, it's better to have these supplies on hand and not need them than to encounter an emergency without proper preparations.
Share on Social
Shall We Camp
3 Comments
This comprehensive RV winterization guide is a gem! The meticulous breakdown of steps, from the crucial initial gathering of supplies to the nuanced process of bypassing the water heater, makes it incredibly user-friendly. The inclusion of recommended products and alternative options ensures accessibility for readers with varying preferences.
The section on insulating the RV is a standout, addressing potential challenges like drafts and providing practical solutions. The advice to check and replace seals, use thermal curtains and rugs, and install vent covers reflects a thoughtful consideration of keeping the cold out and warmth in, enhancing the overall comfort of the camping experience.
What sets this guide apart is the attention to emergency preparedness. The detailed provisions checklist, ranging from extra blankets and non-perishable food to first aid kits and winter tires, demonstrates a comprehensive approach to safety and well-being during winter camping. It’s a valuable addition that reflects a genuine concern for the reader’s overall camping experience.
In essence, your guide not only demystifies the winterization process but also acts as a reliable companion for those embarking on chilly RV adventures. Kudos on a well-crafted and genuinely helpful piece!
Regards
Herman
Even though I do not have an RV, I did live on a floating home here in the northwest in Oregon where I live. Winterizing is also something that must be done on a floating home, and this might be very helpful in that regard…you don’t want your pipes to break. Again, I think your site in general is highly informative and this page is very timely indeed because winter is upon us.
If I know folks with an RV I will definitely share your website with them so they can benefit from it.
I’ve never been on a floating home, but have always wanted to live on one at least for a few years. And I think you are right, some of these tips can be applied to house boats as well.