Planning a camping trip used to be as simple as picking a weekend and showing up. In 2026, you’ll still get that cozy campfire vibe but a little planning goes a long way, especially with reservation windows, permit rules, and timed-entry programs that can change from season to season.
For example, Yosemite is still reviewing whether it will use entrance reservations in 2026, and Arches has warned that timed-entry reservations may be needed, so it’s smart to check official updates before you go.
A great camping trip in 2026 is basically two things: a solid reservation plan and a flexible backup plan.
Below is our simple, real-life system to go from “we should go camping” to “we’re packed and ready.”
Affiliate Disclaimer: This site contains affiliate links, which means I may earn a commission on purchases made through these links at no extra cost to you.
Table of Contents
Step 1: Decide what kind of camping trip you actually want
Before you pick a campground, get clear on your goal. This saves you from booking a site that doesn’t really match your expectations.
Pick your style:
Campground camping: bathrooms, water spigots, families nearby
Primitive camping: fewer amenities, more quiet
Dispersed camping (public land): no designated sites, more freedom, more responsibility Heads up: On BLM land, dispersed camping is generally limited to 14 days within a 28-day period, and local rules can vary.
Quick questions to ask yourself:
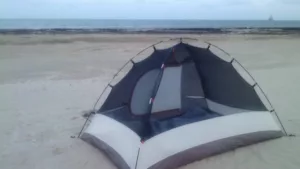
Are we tent camping, RV camping, or glamping?
Do we want hiking and exploring, or just relaxing at camp?
How far are we willing to drive?
What’s our comfort level with weather (heat/cold/rain/wind)?
Step 2: Choose dates with a “Plan A / Plan B” mindset
If your schedule is flexible, you’ll instantly have a better trip.
My best date-picking shortcuts:
Go midweek if you can (even Sun–Tue feels less crowded)
Aim for shoulder season (spring/fall) for better weather and availability
Avoid holiday weekends unless you love crowds and plan months ahead
Pro tip: If you’re visiting a super popular area, start by checking if it uses timed entry or special access rules. These programs can change year to year, so don’t rely on old blog posts or last year’s advice.
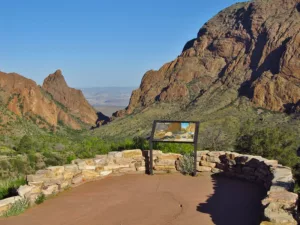
Step 3: Pick the destination the smart way (not the impulsive way)
A destination is more than just a dot on a map, so think through the “hidden” factors:
Cell service (do you need it?)
Closest grocery & gas
Weather patterns (especially wind and nighttime temps)
If you’re traveling with kids, beginners, or pets, choose a place with easy trails and low-stress logistics.
Step 4: Understand the reservation system
For many public campgrounds, booking is competitive. Recreation.gov notes that many locations use a standard six-month booking window, but some campgrounds use shorter windows, so always check the campground’s specific policy.
My reservation routine:
Create accounts ahead of time (Recreation.gov, ReserveAmerica, state park site, etc.)
Save your top 3 campgrounds & site numbers
Set calendar reminders for booking day
Have two backup weekends and two backup campgrounds
Book first… then fine-tune later
Also worth knowing: Recreation.gov has specific rules around modifying reservations, especially if your booking includes dates beyond the normal booking window.
Step 5: Build a realistic budget (to avoid over-spending)
Camping can be cheap… until it isn’t. Variables and unexpected situations can add up quick, so plan ahead.
Common costs to plan for:
Campsite fees & extra vehicle fees
Park entry fees / passes
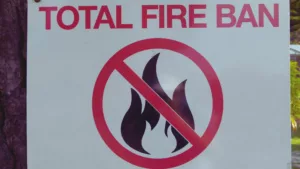
Firewood (often “buy it where you burn it”)
Ice & cooler food
Showers / laundry (some campgrounds charge)
A few “forgot it” items (trust me, it happens!)
Step 6: Make a simple trip itinerary
You don’t need a minute-by-minute schedule. You just need a simple structure.
Easy itinerary template
Day 1: Arrive, set up, easy dinner, early bedtime
Day 2: Big activity (hike, lake day, scenic drive), chill dinner
Day 3: Slow breakfast, pack up, one last stop on the way out
My favorite planning trick: Put your “big hike” on the first full day. You’ll have more energy and the weather is less likely to surprise you.
Step 7: Pack by system (not by “random pile of stuff”)