Imagine waking up to the peaceful sounds of nature, surrounded by a stunning landscape that is waiting to be explored. Now add the rich aroma of coffee wafting through the crisp morning air. That's the magic of camping coffee. It's a morning ritual and a part of the outdoor experience that makes camping a way of life.
How To Make The Perfect Camping Coffee
Start by selecting high-quality coffee grounds and fresh, filtered water. Next choose one of the methods mentioned in this article that works best for you. Brew your coffee over a camp stove or an open flame and then enjoy sipping your brew while soaking in the serene beauty of the great outdoors!
There's something about brewing coffee in the wild that adds an extra layer of satisfaction. Perhaps it's the challenge of creating the perfect brew with limited resources, or maybe, it's the way the great outdoors can make even a simple cup of Joe taste extraordinary.
Let's explore five ways to create an amazing camping coffee experience. Using these methods can ensure nothing stands between you and the perfect cup of coffee.
Pour-Over Perfection: The Art of Drip Coffee in Nature
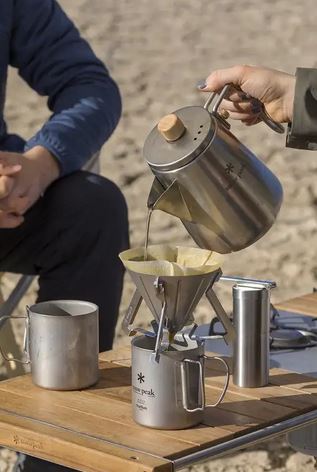
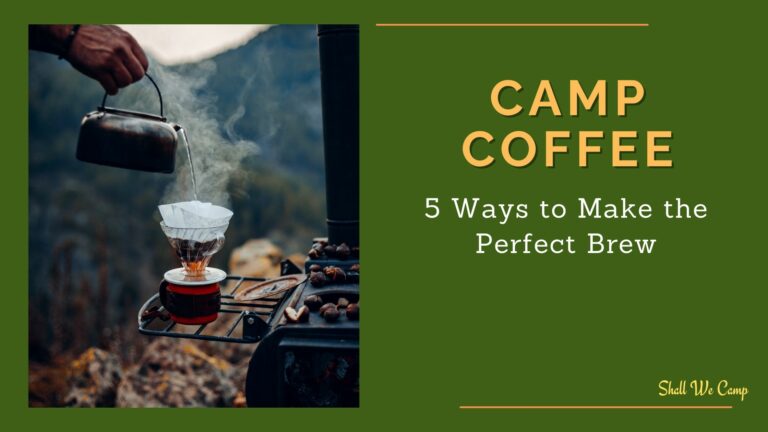
If you're looking to bring a little bit of your coffee ritual from home into the great outdoors, pour-over is the way to go. This method is great for its simplicity and the control it gives you over brewing.
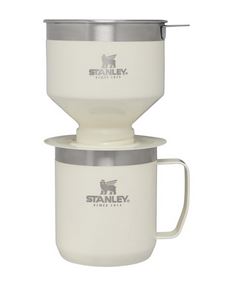
What will you need? A portable pour-over dripper, paper filters, and a rugged kettle. Look for a dripper that's light, durable, and perhaps collapsible to save space. Metal or silicone options are typically your best bet.
Tips for achieving that pour-over perfection.
- Water temperature: Aim for water just off the boil, usually between 195 to 205 degrees Fahrenheit. It'll cool quickly outdoors, so no dawdling.
- Coffee-to-water ratio: A good starting point is 1 gram of coffee for every 16 grams of water.
- Pouring technique: Aim for a slow, steady spiral, starting from the center and working your way out.
Don't forget to enjoy the brewing process. Take in the sounds and smells around you while you wait. Those three to four minutes of brewing time are yours to savor. And when your cup is ready, you'll have more than just a caffeine fix. You'll have a moment of tranquility, a perfect start to any day in the great outdoors.
Our Pour-Over Picks
French Press: For a More Robust Brew
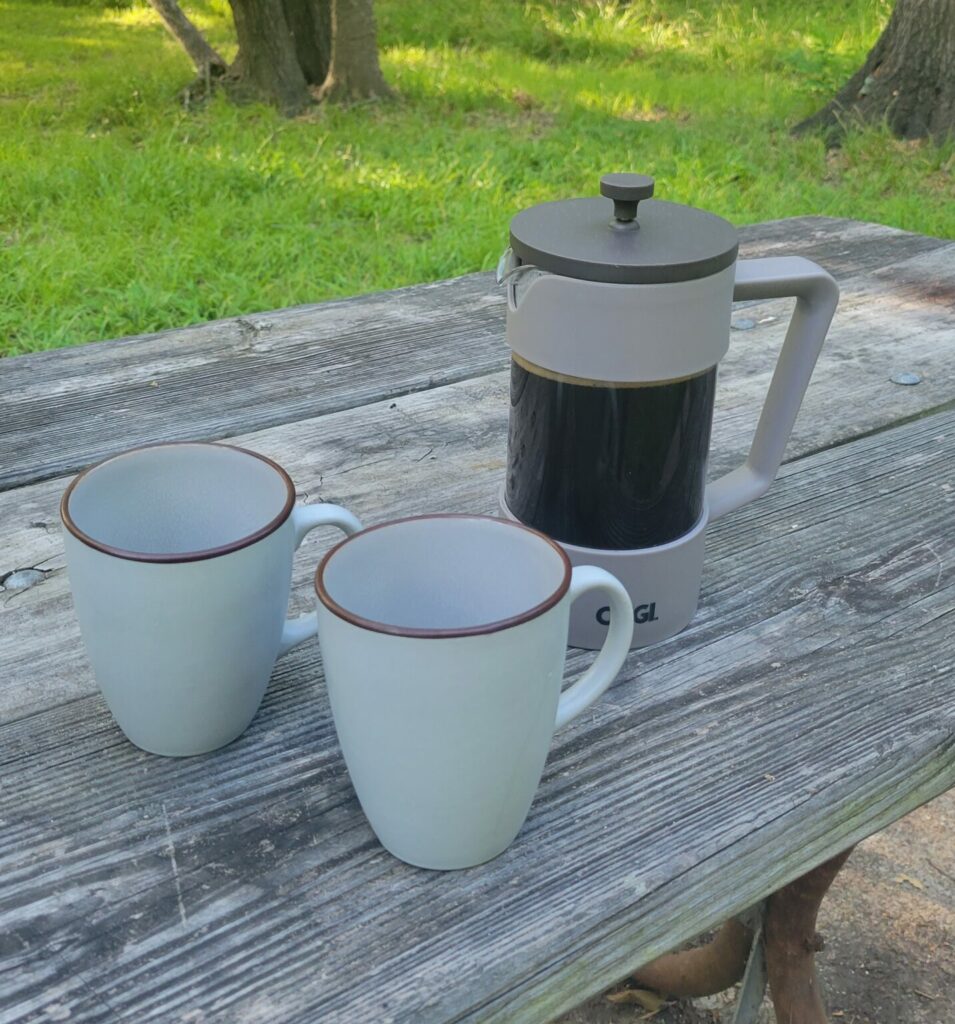
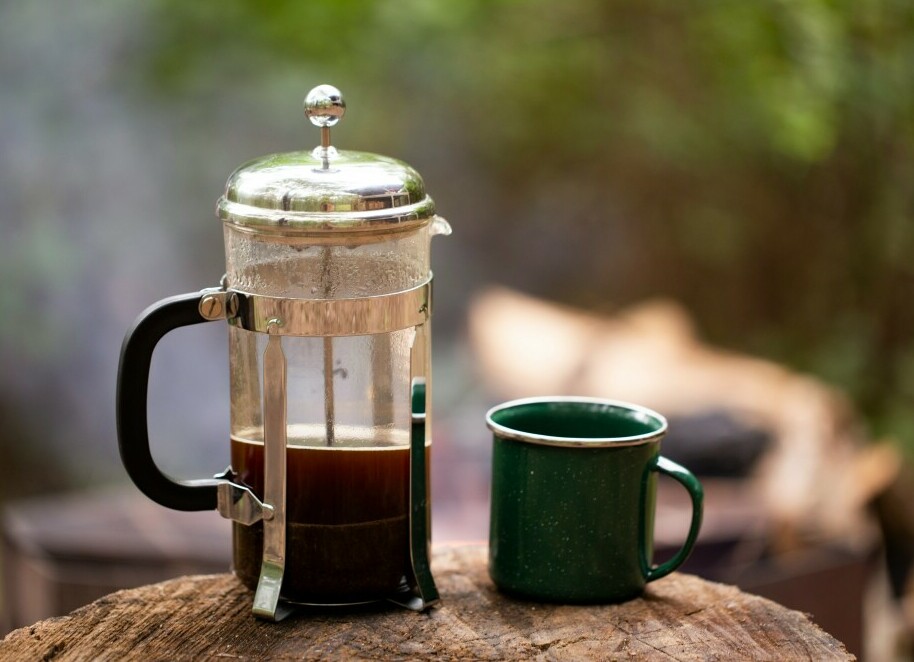
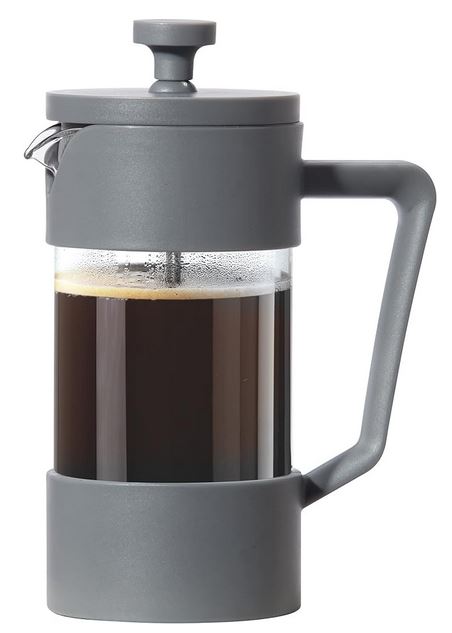
A French press is a cherished tool among many coffee aficionados, and for good reason. Its design allows the full extraction of coffee flavors, making it ideal for producing a rich and full-bodied cup.
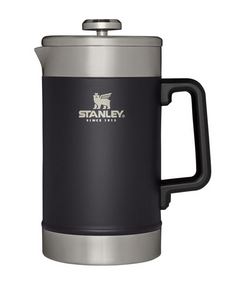
In my opinion, the French press method involves a bit of finesse and a few good pieces of equipment. For camping, you'll want a French press that's sturdy and portable. Metal versions are great for durability, so they won't break in transit.
How to brew using a French press: Start by coarsely grinding your coffee beans, aim for a ratio of about 1:15 coffee to water, and pour hot water, not quite boiling, over the grounds. Let it steep for about four minutes before slowly and steadily pressing down the plunger.
You can grind your beans at home or use a portable coffee grinder for an even fresher brew.
Cleaning your French press at the campsite is easier than you think. Just empty the grounds into a waste bag, rinse the press with a little water, and you're ready for your next brew.
Our French Press Picks
The AeroPress: Espresso-Style Coffee in the Wilderness
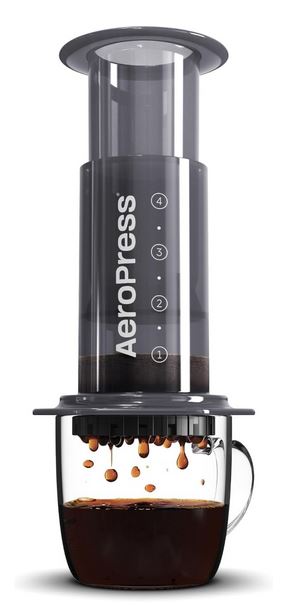
Believe it or not, making espresso-level coffee outdoors is totally doable. The AeroPress is a nifty gadget that is known for its ability to brew a rich, smooth cup that's remarkably close to espresso, all without the need for fancy machinery.
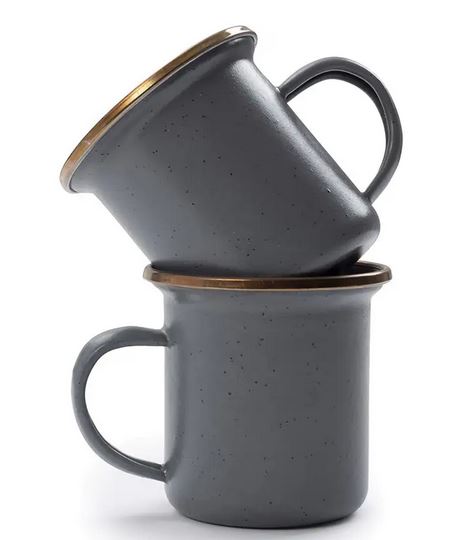
Here's what you'll need:
- an AeroPress
- its microfilters
- a sturdy mug or espresso cup.
The AeroPress is durable, lightweight, and compact, making it an ideal companion for your camping excursions. Plus, it's made of BPA-free plastic, so no worries about harmful chemicals leaching into your precious brew.
Now, for the actual brewing: First, place a filter in the AeroPress cap and twist it onto the chamber. Add your coffee grounds – fine drip grind to be exact. Then, heat your water to about 175-185 degrees Fahrenheit. If you don't have a thermometer, just let the water sit for a minute or so after boiling. Pour the water onto the grounds, stir for 10 seconds, and then press down slowly.
And cleanup is a breeze, which is exactly what you want when you're out in the wild. Simply unscrew the cap, and pop out the used coffee grounds and filter into your waste bag. Rinse the pieces with a bit of water, and you're all set for your next caffeine fix.
Our AeroPress Picks
Cowboy Coffee: An Old-School Twist on Campfire Brews
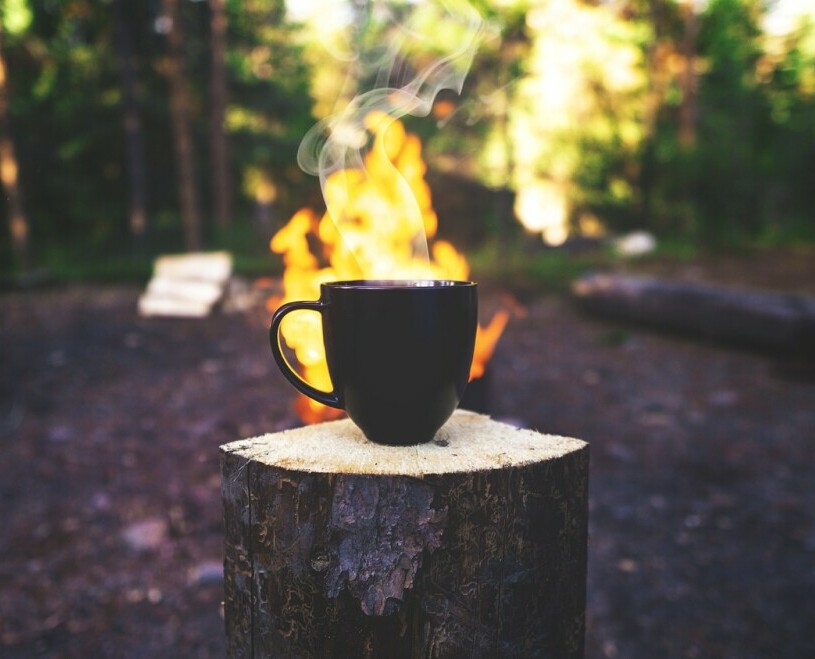
Cowboy coffee keeps it simple and genuine. Imagine starting your day in the heart of nature, with nothing but a pot, some coffee grounds, and a crackling campfire. This rustic method is steeped in tradition, bringing you closer to the pioneering spirit of the Old West.
The two things needed for cowboy coffee: a sturdy pot and your favorite coffee grounds. Choose something that you enjoy, whether it's a pre-ground variety or whole beans you've ground yourself before hitting the trail.
How to whip up this frontier favorite without a bitter aftertaste? It's all about the boil. Boil your water to just the right temperature, adding your coffee grounds directly to the pot, and letting it all simmer to extract the flavors fully without overdoing it.
Once your brew is ready, there's a nifty trick to settle the grounds – just a splash of cold water will do the trick! Now, pour yourself a cup. Don't worry if it's not crystal clear; it's all part of the cowboy experience. Savor the bold flavors and natural setting.
Percolator Power: A Classic Camping Staple
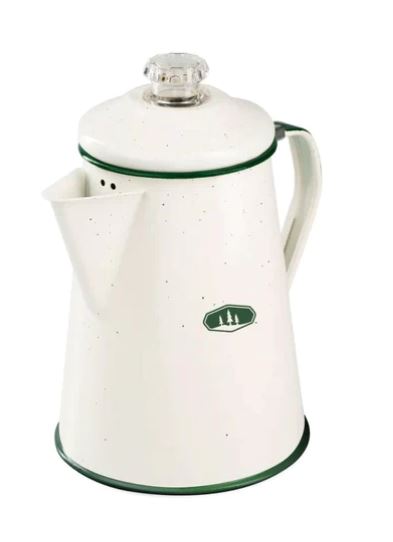
The timeless charm of a percolator offers a more refined approach than cowboy coffee without sacrificing the spirit of outdoor brewing. It's a tradition that has fueled generations of campers
The perky sounds of bubbling, the rich aroma spreading through the campsite – it's all part of the camping experience.
How to Percolate your coffee:
- Fill the percolator with water
- Assemble the basket on the stem
- Add coffee grounds – 2 tablespoons per 8 oz water
- Set coffee pot over the fire and bring to a boil
- Allow to percolate for 5-10 minutes
Plan on doing some cooking while your camping? Check out the 10 Must-Have Camping Cookware for Outdoor Cooking and get outfitted for your next camping excursion.
Final Thoughts
Nothing complements the natural beauty of the great outdoors like a satisfying cup of joe. Camping trips are as much about creating memories as they are about savoring coffee, so don't fret over perfecting your technique on the first go. Your mornings at the campground should be as rejuvenating and relaxing as the landscapes you're exploring. Remember to take a moment to sip slowly, breathe in the crisp air, and relish the flavor of your perfectly crafted camping coffee.
What Do You Think?
What is your favorite method of brewing coffee outdoors? Do you have a technique that you have used and found to be the best? Let me know your thoughts in the comments section below!
I hope that you find these tips and tricks for the perfect brew outdoors helpful. Happy brewing, happy camping, and see you on the trails!
