There's nothing quite like the smell of pine trees, the crackle of a campfire, and… dirty dishes? Don't let messy cleanup ruin your camping experience! A well-designed camp sink setup can make your next camping trip a breeze.
Transform your dish duty into a seamless and enjoyable part of your outdoor adventure!
In this guide, we'll show you how to create a practical and eco-friendly dishwashing station that'll make your campsite feel like a home away from home.
Table of Contents
Essential Gear for Your Camp Sink Setup

When planning your outdoor adventure, packing the right gear can make or break your camp kitchen experience.
First things first, you're gonna need a good collapsible sink or wash basin. I remember my first camping trip after college… I thought I could just use a flimsy plastic tub. Big mistake! That thing cracked on day two. Now, I swear by my collapsible silicone sink. It's lightweight, packs down small, and can handle hot water without warping.
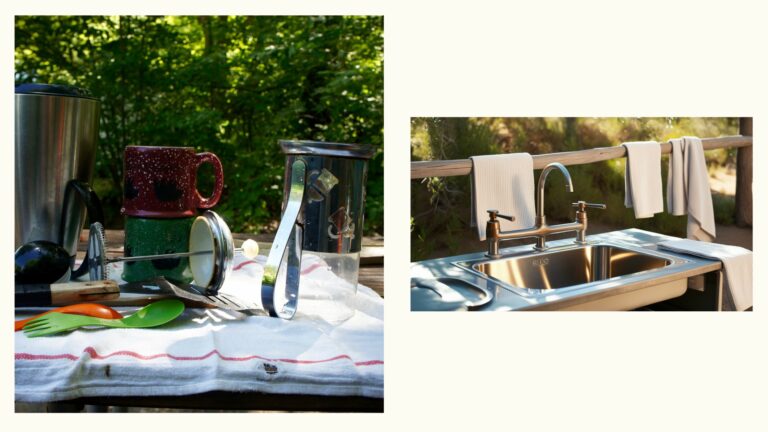
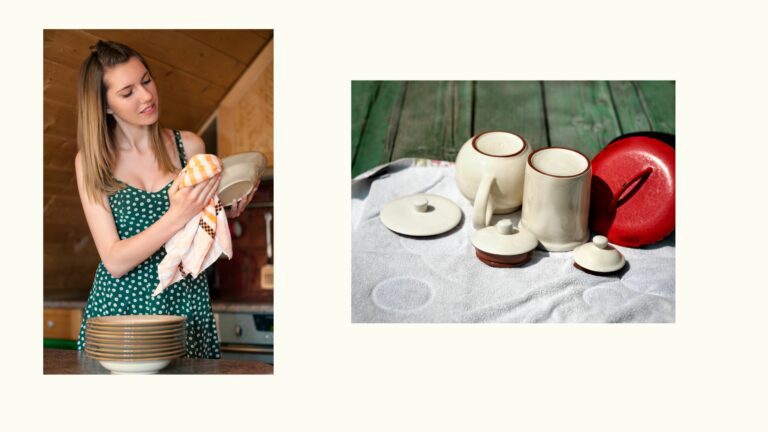
A good drying rack is another key item. It keeps your dishes organized and allows them to dry properly, even when you're roughing it. Try to find a portable one that folds flat.
You've got two main options when it comes to water containers: jerry cans or water jugs. Personally, I'm a fan of the good ol' jerry can. They're sturdy, stackable, and you can get them with a spigot for easy pouring.
Biodegradable soap is a win for both your dishes and the environment. Traditional soaps can harm local flora and fauna, so go green whenever possible.
Don't forget your scrubbers and sponges! I like to bring a mix of both. Scrubbers are great for tough, stuck-on food, while sponges are perfect for everyday cleaning. And here's a little hack I picked up: bring a dedicated pot scraper. It'll save your sponges from wear and tear.
Lastly, consider using a good mesh bag for storing all this stuff. I used to just throw everything in a plastic bag, but it would get all mildewy and gross. A mesh bag lets everything breathe and dry out between uses.
Choosing the Perfect Location for Your Camp Sink

Choosing the perfect spot for your camp sink is like finding the sweet spot for your tent. It's all about balancing convenience, safety, and environmental impact.
Let's start with the water source. You want your sink close enough to water that you're not lugging heavy jugs across the entire campsite, but not so close that you're polluting the source. Aim for about 200 feet from any water source. It's a bit of a trek, but it keeps our wilderness clean.
Drainage is another key factor. You don't want your dishwater pooling up and creating a soggy mess. Look for a spot with a slight slope or natural drainage. And if you're in a really flat area, consider digging a small drainage trench… just be sure to fill it in before you leave.
When it comes to campsite layout, think about convenience and traffic flow. You want your sink area close to your cooking space, but not so close that it's in the way. I usually set it up just a bit away from the main hangout area. That way it's close enough for easy access, but far enough to avoid congestion.
One last tip: be flexible. Sometimes the “perfect” spot on paper isn't so perfect in reality. I remember this one campsite where the only flat spot was right in the middle of a game trail. We had to rethink our whole setup, but it was worth it to avoid disturbing the local wildlife.
Step-by-Step Guide to Setting Up Your Camp Sink
Step 1: Preparing the area
In order to avoid a wobbly sink, take your time with this step. Clear away all the debris – sticks, rocks, pine cones, you name it. Then, level the ground as best you can. I use a small camp shovel to smooth things out. If you're on a slight slope, consider digging a small, flat shelf for your sink to sit on.
Step 2: Assembling your sink or wash basin
If you've got a collapsible model like I do, this part's pretty straightforward. Consider setting it up at home first to make sure you know just how it unfolds or fits together. This way you can avoid wasting time when at the campsite. Most models just pop open, but pay attention to any locking mechanisms or support legs. Make sure everything's stable before you start filling it with water.
Step 3: Setting up your water supply and drainage system
For water supply, I like to use a large jerry can with a spigot. I position it slightly uphill from the sink if possible, so gravity does some of the work. For drainage, you've got options. Some campers dig a small hole, but I prefer the scatter method. I use a length of flexible tubing attached to the sink's drain (if it has one). This lets me direct the greywater to different spots, spreading out the impact.
Step 4: Organizing your cleaning supplies
This might seem like a small thing, but having everything within reach makes dishwashing so much less of a chore. I use a mesh bag hung from a nearby tree branch or my RV's awning. It holds my biodegradable soap, scrubbers, sponges, and a small towel. I also keep a separate, sealed container for any food scraps.
Step 5: Lighting the camp sink area
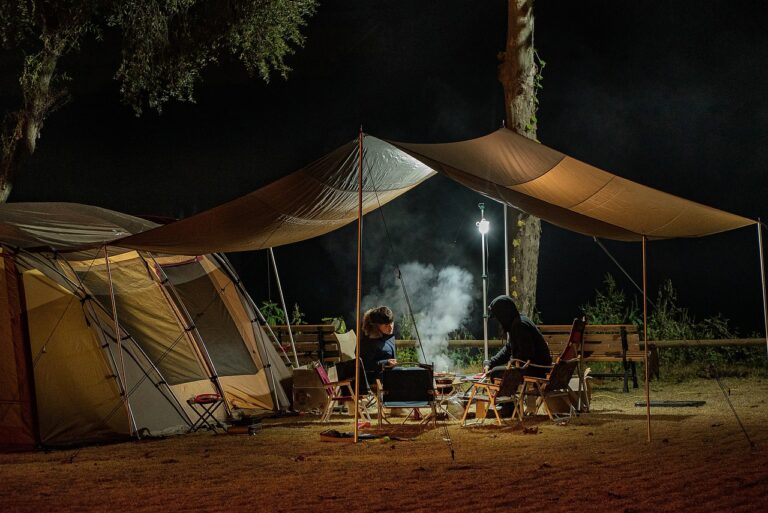
Bring a headlamp or set up some camp lighting near your sink area. You don't want to be fumbling around in the dark trying to clean up after a late-night s'mores session.
Setting up your camp sink might seem like a lot of work, but once you get the hang of it, it'll be second nature. No more dreading the post-meal cleanup or waking up to a mess of crusty dishes. With this setup, you'll be the envy of the campground or at least the cleanest camper out there!
Water Management Tips for Efficient Dishwashing

Pre-Rinse Dishes – Before you start scrubbing, give your dishes a quick wipe with a paper towel or plastic scraper. This gets rid of the big chunks and saves a ton of water.
Use a Two-Bucket Method – Fill one bucket with soapy water and the other with clean water for rinsing. This method minimizes the amount of water needed for a complete wash cycle.
Reuse Gray Water – Save the water from boiling pasta or veggies and use it for the initial dish rinse. It's already hot, which helps cut through grease, and you're not wasting a drop.
Use Less Soap – When it comes to soap, less is more. Using too much soap wastes water when you are trying to rinse it all off. Just use a tiny drop… you'd be surprised how far it goes.
Dedicated Water Jug – Bring a dedicated water jug just for dishwashing. Label it clearly so no one accidentally drinks from it. I use an old milk jug with “DISHES ONLY” written in big letters.
Eco-Friendly Practices for Camp Sink Usage
Choose biodegradable and natural cleaning products – Regular dish soap might be fine for your kitchen sink at home, but out in the wild? It's a big no-no. I swear by castile soap. It's biodegradable, versatile, and a little goes a long way.
Minimize soap usage – Less soap means less water needed to rinse it off. I use the “dime-sized dollop” rule. That's really all you need for a whole sink of dishes. I put a little soap on a sponge or scrubber and go to town.
Leave No Trace – Always wash your dishes at least 200 feet away from any water sources. Use the “broadcast method” when disposing of your dishwater.
Use reusable cloths – Instead of using the disposable cleaning wipes, use cloths that are reusable. They work just as well, and I feel a lot better about not leaving a trail of wipes behind me.
The goal here is to leave your campsite better than you found it. That means being mindful of every drop of water, every squirt of soap, and every bit of waste.
And there's something really satisfying about knowing you're enjoying nature without messing it up for the next person.
Camp Sink Setup Ideas for Comfort and Convenience

Enhance your camp sink setup with extra features for a more comfortable dishwashing experience. Start with collapsible buckets and portable faucets to make the whole process more streamlined and space-efficient.
Consider adding a heat source for warming water. A small portable water heater or even a solar shower bag can provide hot water, making dishwashing more effective and comfortable, especially during those chilly camping trips.
A designated drying area is another great addition. Use a collapsible dish rack with built-in drainage or set up a simple drying line to hang your dishes. This helps keep your campsite organized and allows your dishes to dry properly.
Little touches can make a big difference in comfort and efficiency. A small caddy can hold your soap, scrubbers, and towels, keeping them all in one spot and easy to grab. Another idea is to have a foot pump for hands-free water dispensing, freeing up your hands to handle dishes more effectively.
These small enhancements can turn a basic camp sink setup into a luxurious and efficient washing station, making your outdoor adventure more enjoyable.


