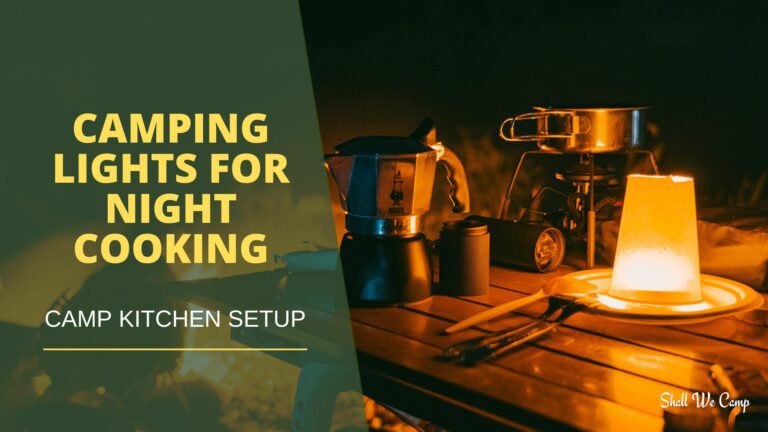
There’s something extra satisfying about that first sip of coffee when the world is quiet, the air is crisp, and you can see your breath. The only problem? Winter mornings make everything harder… cold hands, wind, slower boil times, and cleanup that feels twice as annoying when your water jug is basically an ice block.
This guide breaks down the best camp coffee setups for winter mornings, from quick Jetboil coffee to slow-and-cozy percolators, so you can pick the method that matches your style (and your patience level before sunrise).
Affiliate Disclaimer: This site contains affiliate links, which means I may earn a commission on purchases made through these links at no extra cost to you.
Table of Contents
What Makes a “Good” Winter Camp Coffee Setup?
In cold weather, the best setup becomes more about speed, heat retention, and minimal fuss.
Look for:
Fast boil time (because nobody wants to stand around shivering)
Wind resistance (wind steals heat and burns fuel)
Easy cleanup with limited water
Insulated mug or thermos (hot coffee turns lukewarm fast)
Glove-friendly gear (tiny filters and fiddly parts are… not fun)
Best “real coffee” flavor with low drama: AeroPress-style brewer
Best for groups: Percolator
Most packable: Pour-over dripper & filters
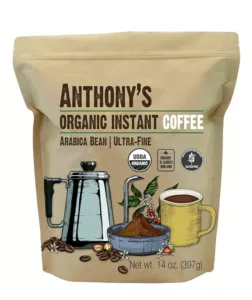
No-gear backup plan: Cowboy coffee
Luxury vibes: French press & insulated carafe
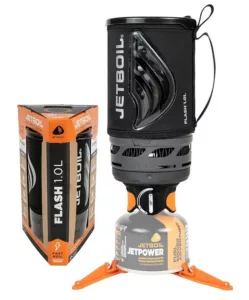
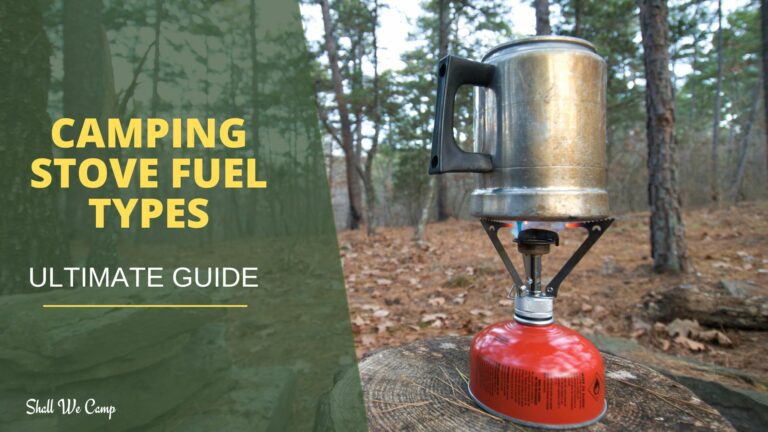
1) Jetboil & Coffee Press:
If your goal is hot coffee now, Jetboil-style systems are hard to beat in winter. They’re efficient, boil quickly, and handle chilly mornings better than many open-flame setups (especially with wind).
Best for: solo campers, quick breakfasts, minimal cleanup
Keep your fuel canister warm (sleep with it in your sleeping bag or stash it in a jacket pocket for 10 minutes).
Brew slightly stronger than normal, because cold air can mute flavor.
Pour brewed coffee into an insulated mug immediately.
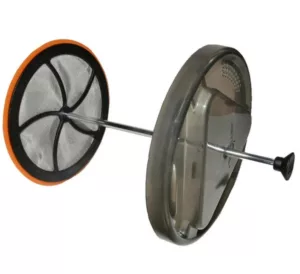
Simple Jetboil press method:
Boil water, then let it sit 30–60 seconds (just off boil tastes better).
Add grounds, stir, steep 3–4 minutes.
Press slowly, pour, and enjoy.
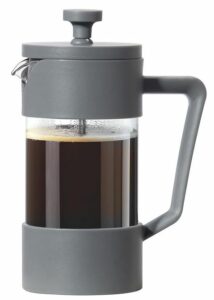
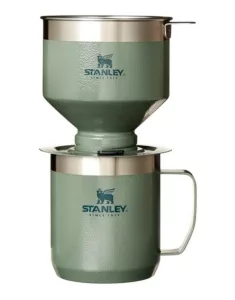
2) French Press:
French press coffee at camp always feels like a treat, especially when you’re bundled up in a camp chair watching the steam rise. It's honestly our favorite coffee style.
Best for: car camping, glamping, anyone who wants “real coffee”
What you need:
French press (durable camp version is best)
Coarse grounds
Kettle or pot for boiling water
Insulated carafe or mug
Winter-friendly tips:
Pre-warm your press with hot water before brewing.
Use an insulated press if you can, because winter air cools glass fast.
Cleanup tip: pack a small trash bag and dump grounds into it (don’t wash them down at camp).
Quick French press method:
Add coarse grounds.
Pour hot water (not raging boil), stir.
Steep 4 minutes, press slowly.
Pour into insulated mug/carafe.
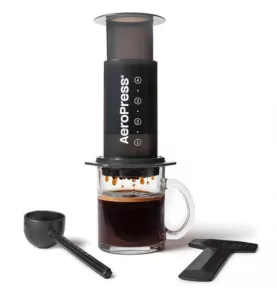
3) AeroPress-style Brewer:
This is one of the best “sweet spot” methods: excellent flavor, fast brew, compact gear, and easy cleanup. It is great when it’s too cold to deal with a messy setup.
Best for: solo/2 people, packable setup, great taste